Importing a Japanese car can be an exciting and cost-effective way to own a high-quality, reliable, and sometimes rare vehicle. Japan is known for its cutting-edge automotive engineering, and many enthusiasts worldwide seek Japanese Domestic Market (JDM) cars for their performance, durability, and style. However, navigating the legalities and logistics of importing a car from Japan requires planning, research, and compliance with regulations. This guide will walk you through the entire process step by step, making your import journey smooth and stress-free.
Step 1: Research Import Laws in Your Country
The first and most crucial step is to understand the import laws and vehicle eligibility requirements in your country. Countries like the United States, Canada, the UK, and Australia all have different rules regarding vehicle age, emissions, safety standards, and modifications.
For example, in the U.S., the 25-Year Rule allows vehicles that are at least 25 years old to be imported without having to meet all modern safety and emissions standards. Canada, on the other hand, has a 15-Year Rule. Always check with your country’s transport authority to confirm the legalities before making any decisions.
Step 2: Choose the Right Car
Once you know what you can import, it’s time to select the right vehicle. Japanese auctions and exporters offer a wide range of options—from classic sports cars like the Nissan Skyline and Toyota Supra to economy cars and kei cars.
Make a list of the features you want, your budget, and any specific models you’re interested in. Some exporters provide access to live auction listings, allowing you to bid in real-time or work through an agent to secure a car that meets your preferences.
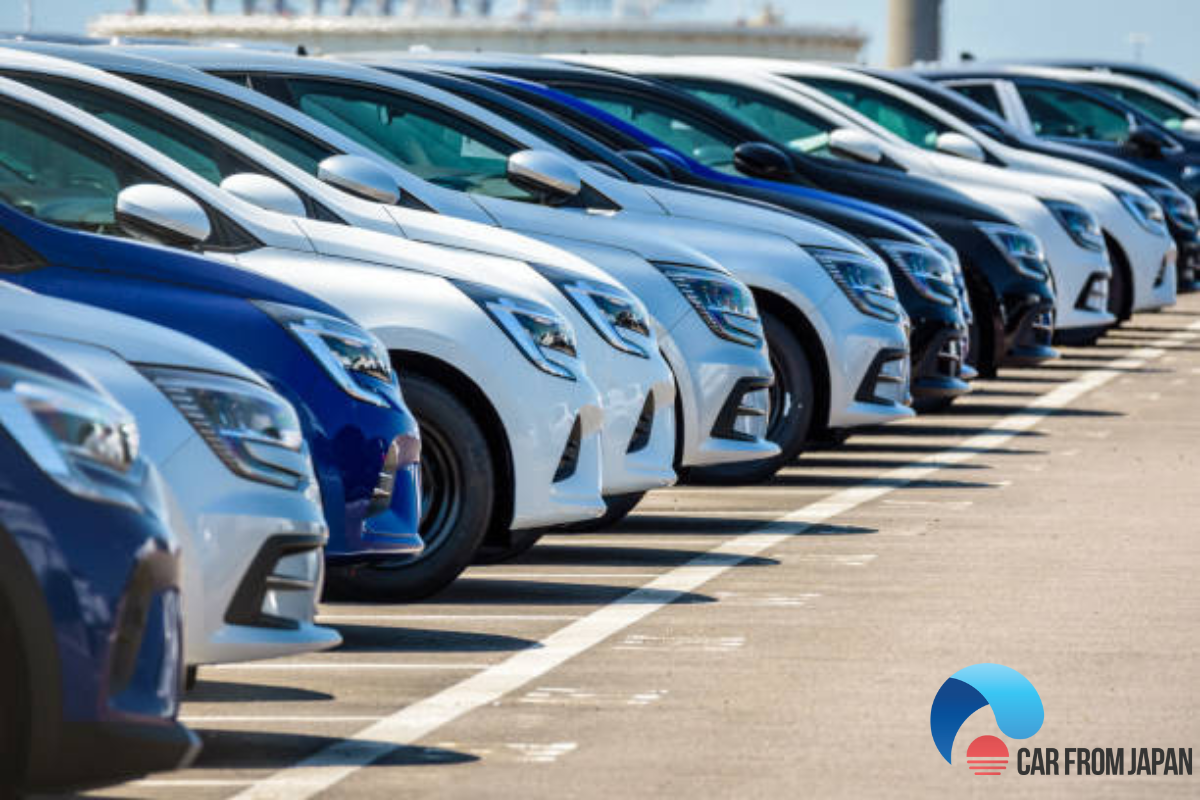
Step 3: Find a Reputable Exporter or Dealer
Partnering with a trustworthy Japanese exporter or dealer is essential. Look for companies with a proven track record, transparent communication, and positive reviews. Good exporters will handle vehicle inspection, auction bidding, shipping arrangements, and documentation for you.
Some reputable Japanese car exporters also offer pre-inspection reports and detailed photos to ensure you’re getting exactly what you expect. Avoid any seller who pressures you or seems unwilling to provide proper paperwork.
Step 4: Understand the Total Cost
The price you see for the vehicle isn’t the final amount you’ll pay. There are several additional costs to factor in:
-
Vehicle price
-
Auction fees
-
Exporter fees
-
Shipping charges (usually by container or Ro-Ro)
-
Import duties and taxes in your country
-
Port fees and customs clearance
-
Modifications or inspections needed for registration
Create a comprehensive budget that includes all these costs so there are no surprises when your car arrives.
Step 5: Arrange Shipping
Most cars from Japan are shipped via two methods: Roll-on/Roll-off (Ro-Ro) or container shipping. Ro-Ro is generally cheaper and faster, but the car will be exposed to the elements. Container shipping is more secure and allows for transporting other items along with the vehicle.
Once you’ve purchased your car, your exporter will help you choose the best shipping method and handle the logistics. Shipping time depends on your location but typically ranges from two to eight weeks.
Step 6: Prepare for Customs Clearance
Before your car arrives, prepare the required documents for customs. These may include:
-
Bill of lading
-
Original invoice
-
Export certificate
-
Translation of the export certificate (if not in English)
-
Proof of payment
-
Import permit (if required)
Working with a customs broker can simplify this process. They will help ensure all paperwork is in order and that your car clears customs smoothly. Be ready to pay any import duties, VAT, or GST required by your country.
Step 7: Comply with Local Regulations
After clearing customs, your car may need to undergo inspections or modifications to comply with local road and safety standards. Depending on your country, you might need to:
-
Convert headlights for local standards
-
Replace tires
-
Install a new speedometer in miles (if required)
-
Pass emissions and safety inspections
Some regions require proof of compliance with local environmental standards. Working with a local mechanic experienced in JDM imports can be a valuable resource at this stage.
Step 8: Register Your Vehicle
Once all modifications and inspections are complete, you can register your vehicle. This process usually includes:
-
Submitting documents to the motor vehicle department
-
Paying registration fees
-
Getting license plates and insurance
After registration, your imported car is road-legal and ready to drive.
Step 9: Enjoy Your New Ride
With your car legally imported, registered, and insured, you can now enjoy the unique driving experience of a Japanese import. Whether it’s a sporty coupe, a compact kei car, or a luxury sedan, your new vehicle is not just a means of transportation—it’s a piece of automotive culture.
Final Thoughts
Importing a Japanese car might seem complex, but with the right knowledge and partners, it can be a smooth and rewarding experience. Do thorough research, work with reliable professionals, and stay organized. By following this step-by-step guide, you’ll soon be driving a high-quality Japanese vehicle that stands out on the road and adds value to your lifestyle.


